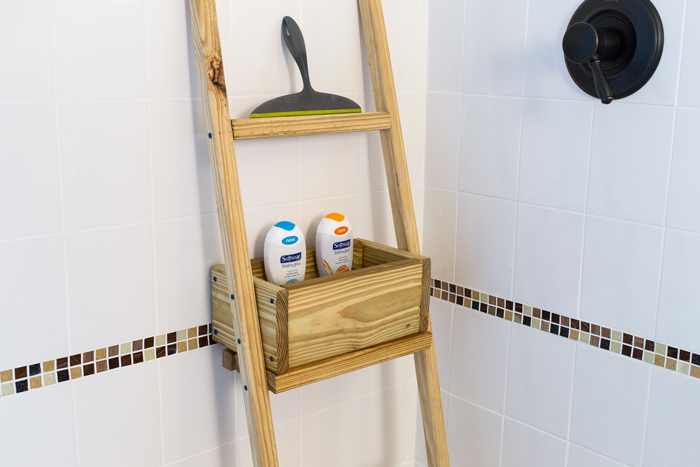
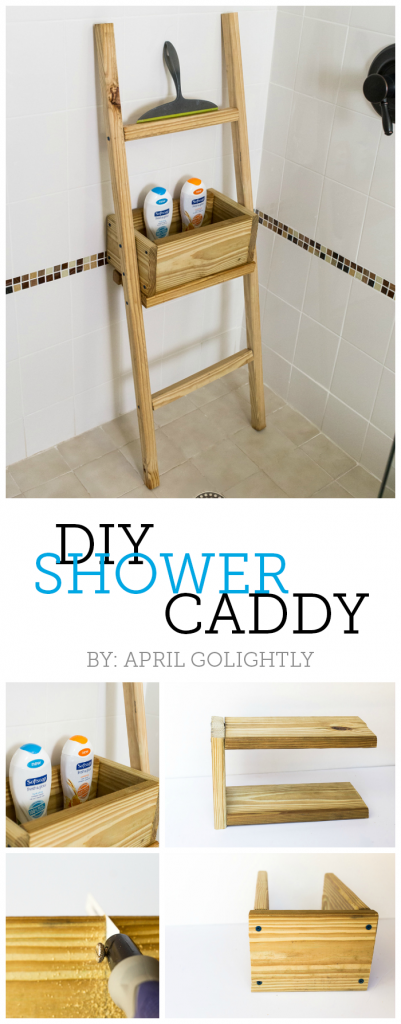
DIY Shower Caddy
AFFILIATE DISCLOSURE: This post contains affiliate links. We earn a pocket-size commission from qualifying purchases.
This store has been compensated by Commonage Bias, Inc. and its advertiser. All opinions are mine alone. #FreshAndGlow #CollectiveBias
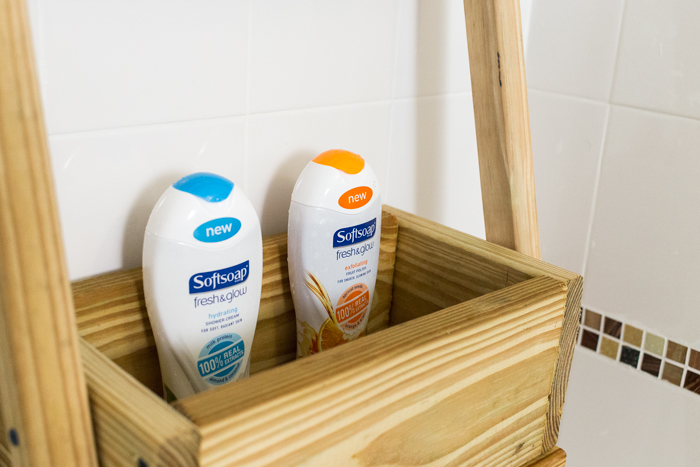
As you may take noticed, I working on decorating my bathroom. This is the third DIY that I have completed for my downstairs bathroom in the final few weeks. I got the idea from a cute ladder from the Four Seasons that blogger, A Grateful Life mentioned in a blog postal service. This thought came after purchasing the new Softsoap Fresh & Glow Exfoliating Fruit Shine Body Wash and Softsoap Fresh & Glow Hydrating Shower Cream Body Wash. I have been keeping all my bathroom items on the floor, and these were just too nice to proceed the shower floor.
Softsoap Fresh & Glow Hydrating Shower Cream helps you go soft and radiant peel with Milk Protein Almond and Coconut 100% Real Extracts. The do good of the hydrating is that information technology is proven to lock-in long-lasting wet, giving you healthy-looking skin that glows. Softsoap Fresh & Glow Exfoliating Fruit Polish helps with shine and glowing skin with Apricot Seeds, Orangish & Kiwi 100% Real Extracts. Benefits of exfoliating are its unique formula that is packed with apricot seeds that exfoliate, giving you healthy-looking skin that glows.
Since I am sick of putting crawly products on the floor, I decided to build a DIY Shower Caddy. This is a pretty uncomplicated pattern that took me about 2 hours to build. I took breaks because I saw everything past mitt then information technology volition take you less if yous take a tabular array saw (dying to go one BTW).
Tools & Supplies
One – 2 x vi – Twelve Human foot Treated Forest
Two – 2 x two – Ten Foot Treated Wood
Long Outdoor Screws
Electric Drill
Pencil
Saw (I used a hand saw, buy you can apply a table saw or whatever you have)
Instructions
Start by cutting the thicker forest into two – twelve inch pieces and ii – viii inch pieces. With the thinner forest, cut ii – four and half foot pieces and half-dozen – twelve inch pieces.
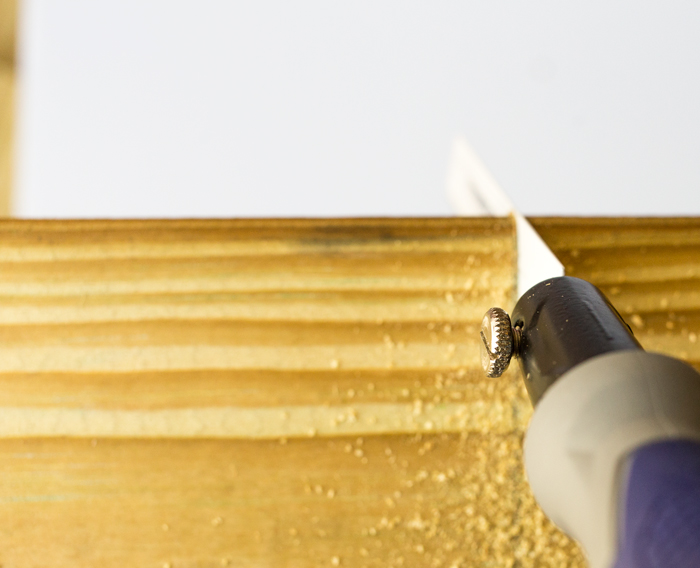 Start by putting together the box past drilling holes into the side and and so screwing in the long outdoor screws. This can also be done with a nail gun.
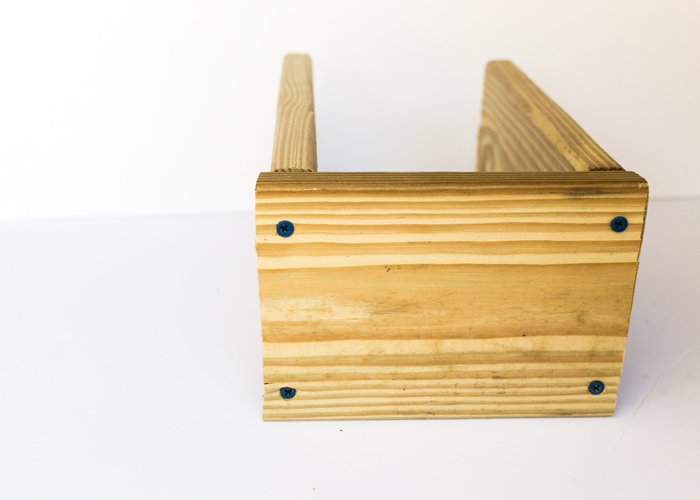
Screw four of the thinner twelve inch pieces of woods to the lesser making slits so that water tin can come up through.
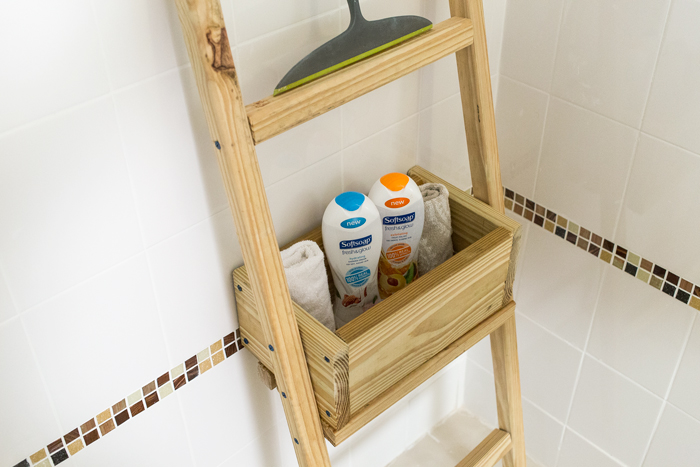
Start putting the ladder together by measuring twelve inches from the bottom of the four and half foot pieces and twelve inches from the top. This is where you volition add 2 of the twelve inch pieces equally ladder rungs. Screw into both on the top and simply on the bottom.
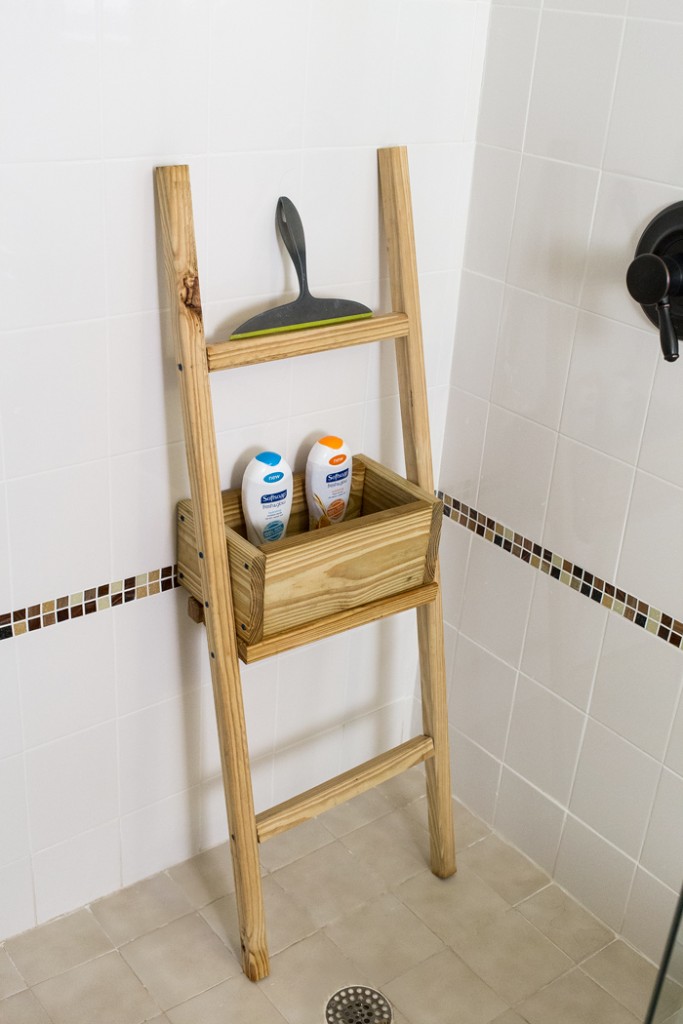
Mark off about x inched from the top rung. Lean the ladder against the wall where yous will be placing the DIY shower caddy. Take a pencil and mark off where the caddy should angle on the ladder. The caddy should sit against the wall. This is where you become the stabilization for the entire ladder.
Use the drill to put holes in the side of the ladder. And so, spiral in 3 long screws on each side.
Spiral in the bottom rung and you are all washed.
Oh and I bought Softsoap Fresh & Glow Exfoliating Fruit Polish & Softsoap Fresh & Glow Hydrating Shower Cream from Walmart, I constitute it on an finish cap near the cosmetics alley.

Now that I have shown yous how am displaying my shower goodies tell me how you lot display yours?
Source: https://aprilgolightly.com/diy-shower-caddy/
Post a Comment for "DIY Shower Caddy"